Droppinz
Images
Development Images
About the Game
Image 1
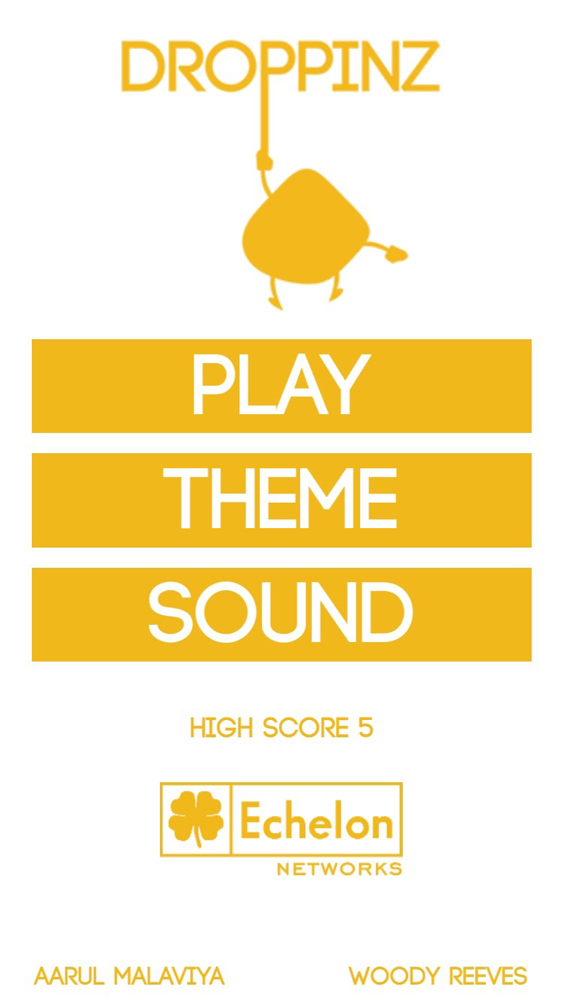
This is an iOS and Android app Developed by me. I along with a friend of mine who designed the app
are the creators of Droppinz supported by Echelon Networks. Droppinz is a very simple mobile and
tablet app targeted at people aged between 5-25 years old.
We wanted to create a very simple app for people when for e.g. they have some spare time to kill or are traveling in the tube or bus etc. to keep their fingers busy.
We wanted to create a very simple app for people when for e.g. they have some spare time to kill or are traveling in the tube or bus etc. to keep their fingers busy.
Image 2
The app was created with Unity 5.1.2 in a month (June 2015) and it wasn't that hard to create however,
it took me another month to figure out how to put my app on the App Store & Google Play Store,
how to add additional features like adverts to my app and how to implement leaderboard and game center
functionalities etc. Personally speaking I found that creating an app is the easy bit. Putting it on
the store was the hard bit for me and specially when this is my first app that I'm putting on the
App Store.
The app was created using scripting language C# and this was my first app in which I used C# as my coding language. Earlier I use to code in JavaScript.
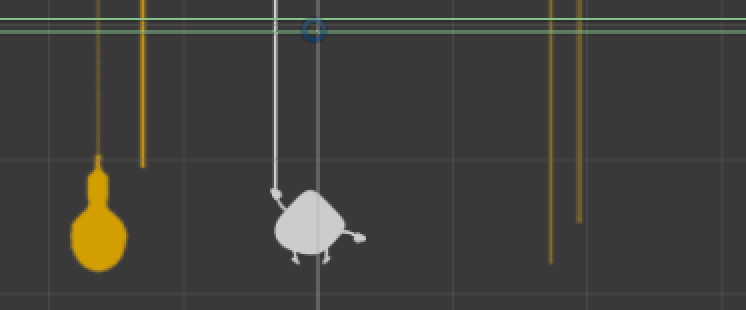
Originally Droppinz was not the way it is today. During the development stages the app idea was to have an object at the top, which will keep moving from left to right and a dropping the object into the target at the bottom, which will also be moving. Each time the user is successful in reaching the target, its movement speed will increase and become harder. The user will have to time it correctly and could only tap ONCE. [Refer to Image 3]
The app was created using scripting language C# and this was my first app in which I used C# as my coding language. Earlier I use to code in JavaScript.
Originally Droppinz was not the way it is today. During the development stages the app idea was to have an object at the top, which will keep moving from left to right and a dropping the object into the target at the bottom, which will also be moving. Each time the user is successful in reaching the target, its movement speed will increase and become harder. The user will have to time it correctly and could only tap ONCE. [Refer to Image 3]
Image 3
When we played the game it didn't feel that we had hit the mark and something didn't feel right.
It was good but it didn't keep us going or didn't have the feeling that it was addicting enough.
We had to go back and rethink our idea.
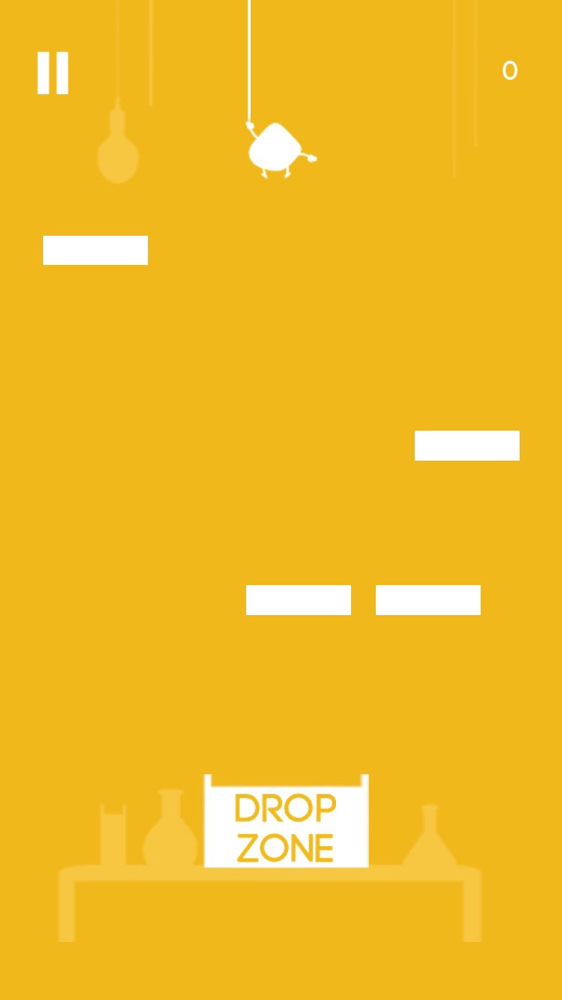
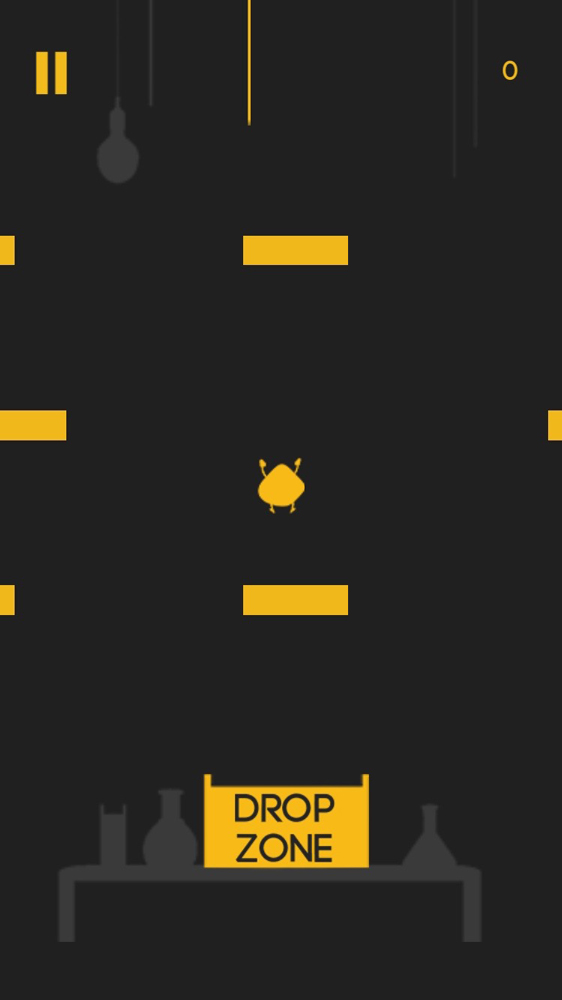
So we decided to remove the movement of the character and the target and add distracting rectangular bricks, which the user will have to avoid when dropping in the drop zone. As the game became harder we decided to give MULTIPLE tapping to jump so that the user will have more control over the character. We decided to keep the difficulty level quite hard and static because we wanted to keep the game extremely simple and didn't want to introduce any levels.
When we were making the app we wanted to add themes so that if people don't like our main theme (Yellow and White), we gave them 2 more options (Black and White & Black and Yellow). There is a possibility that the user may not like all 3 of them but we also had to keep the app size in mind so it we were unable to offer more colors. Plus, we just wanted the game to be extremely simple like I said earlier and it wasn't a big game where we would offer too many choices. We also added Music and Sound Effects, which the user could choose to activity or deactivate at anytime. [Refer to Image 4]
Image 4
There were 3 things that the app needed to save even after the user quit the app. Those three
things were user's high score, choice of theme and choice of whether the user enabled or disabled
the app sound. We used Unity's Player Prefs achieve this. The if statement of checking which theme
is enabled was placed in the update function as the user could change the theme at any point in the game.
[Refer to Image 5]
Image 5
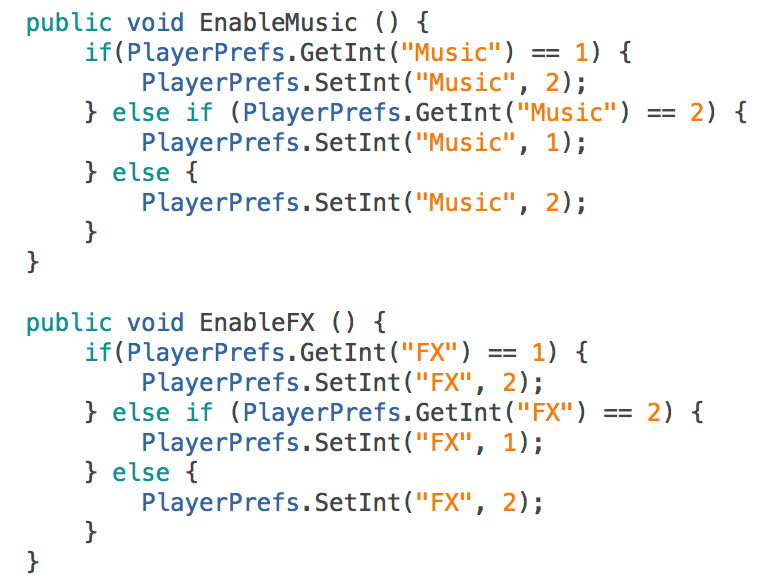
I used the same process to save, enable or disable user's preference of sound even after the user
had quit the app however, there was one problem. For the first time the app was loaded the button
would have no preference selected as the user would have not stated his/her preference as the user
would have opened the app for the first time. So the user would have had to press the button twice.
My if statement said if the user pressed the button and if preference 1 is selected then change the
preference to 2 but if no preference was selected then the system would get confused. So I added an
else statement saying that if no preference was selected the choose preference 2 as the default
option was to choose preference 1. [Refer to Image 6]
Image 6
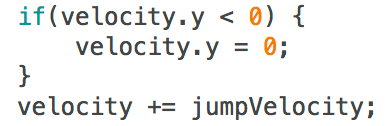
In the game I had to make the character jump so every time the user would tap the character would jump.
While coding this I realized that when the character is falling, it has an X amount of downward force
which keeps increasing as the character keeps on falling due to gravity. Every time the character
would jump it would have an upward force of Y amount. If X force were too high, then you would have
to jump (tap) multiple times just to neutralise the downward force. So I decided to give a max
downward force to the falling character so the force would not exceed that amount and whenever
the user would tap, it will remove all the downward force for the character. So at that point when
user jumps (taps) the character has no force at all and it just stops there. After that I added
some upward force to the character so while the character is falling it would jump where it is
tapped and it will not jump any quicker or slower as the downward force was removed. [Refer to Image 7]
Image 7
I had to add an invisible barrier at the top of the screen so the character would not fly off the screen. [Refer to Image 8]
Image 8
For the rectangular bricks that the user has to avoid, are created at random. The user CANNOT
anticipate the next speed of the brick. [Refer to Image 9] The way theses bricks are being spawned
are at random using Random.Range. In every fixed X seconds a brick is being spawned in the same
position but it has a random speed set. Either the brick will move at speed Y or speed Z, which
is decided by the system randomly hence it is not possible to find a pattern. [Refer to Image 10]
However, if the user falls into the Drop Zone by tapping just once, its pure luck. The bricks are
moving in one direction using Transform.Translate and after 5 seconds the brick is destroyed,
as we don't want the app to eat up the entire RAM of the device. [Refer to Image 11]
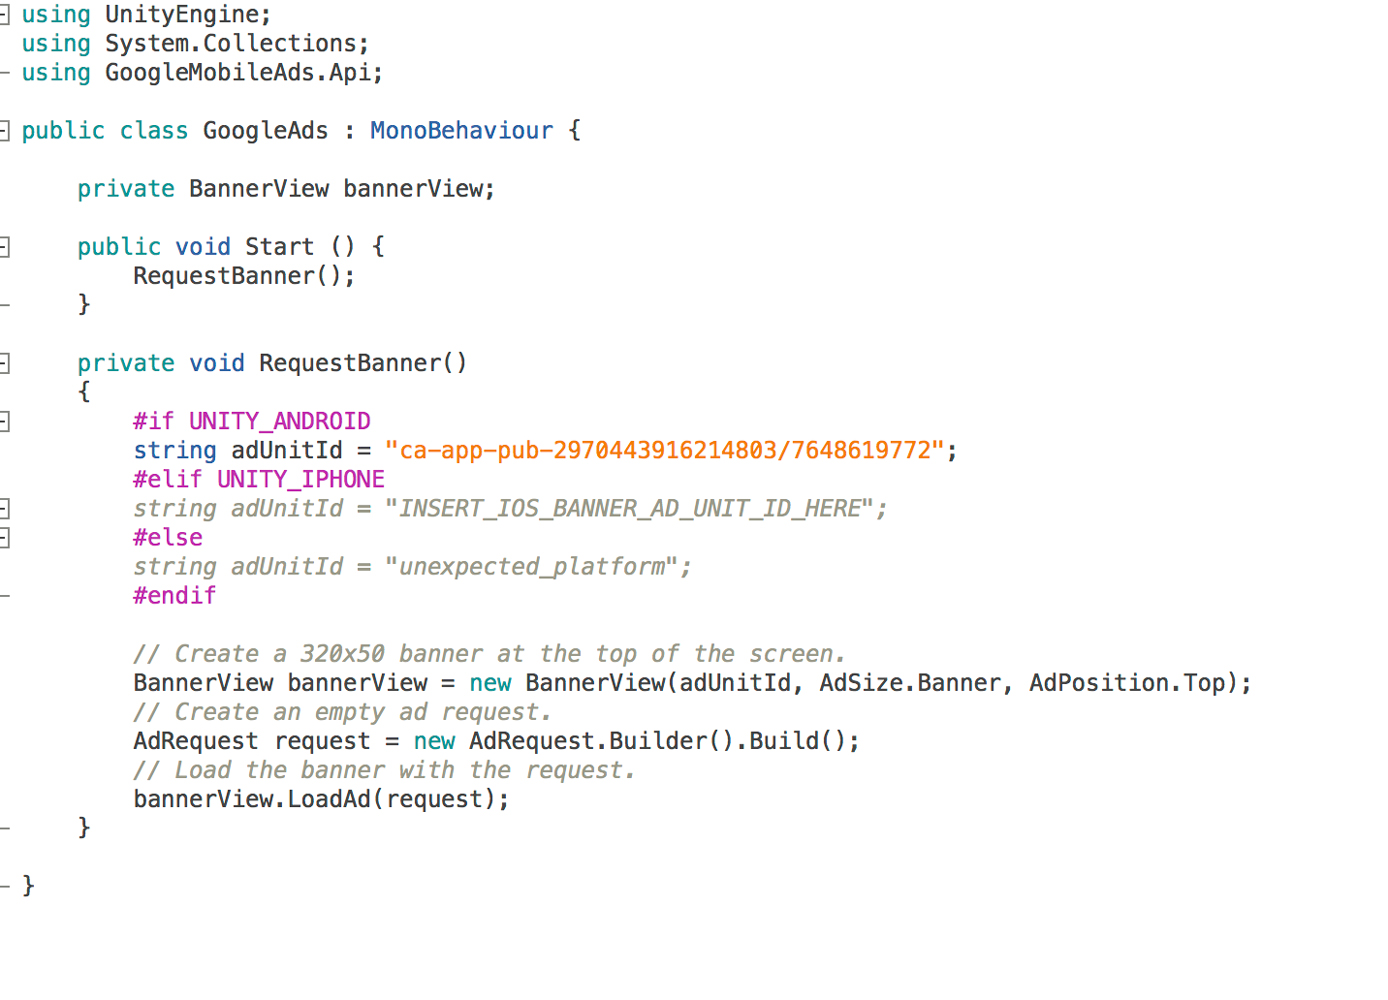
After Droppinz was created we wanted to add adverts and game center compatibility to the app,
which was a challenge. To add adverts to the app, the company identifier had to be signed up to
multiple different accounts. For Android you have to import Google Ads plugin and Google Play
Store plugin along with the Android SDK and JDK that comes with Android Studio. Scripting the
advert was actually quite simple after days of research and tutorials. Most of the tutorial's
I was looking at were old and outdated. I realized even the tutorials that were over 8 months
old were non reliable. I had to try and test it myself. After I figured out how simple it was
I felt quite silly. This is all you need to add a Google add banner to the top of your app.
[Refer to Image 12] The Code for adding iAD is also very simple.
Image 12
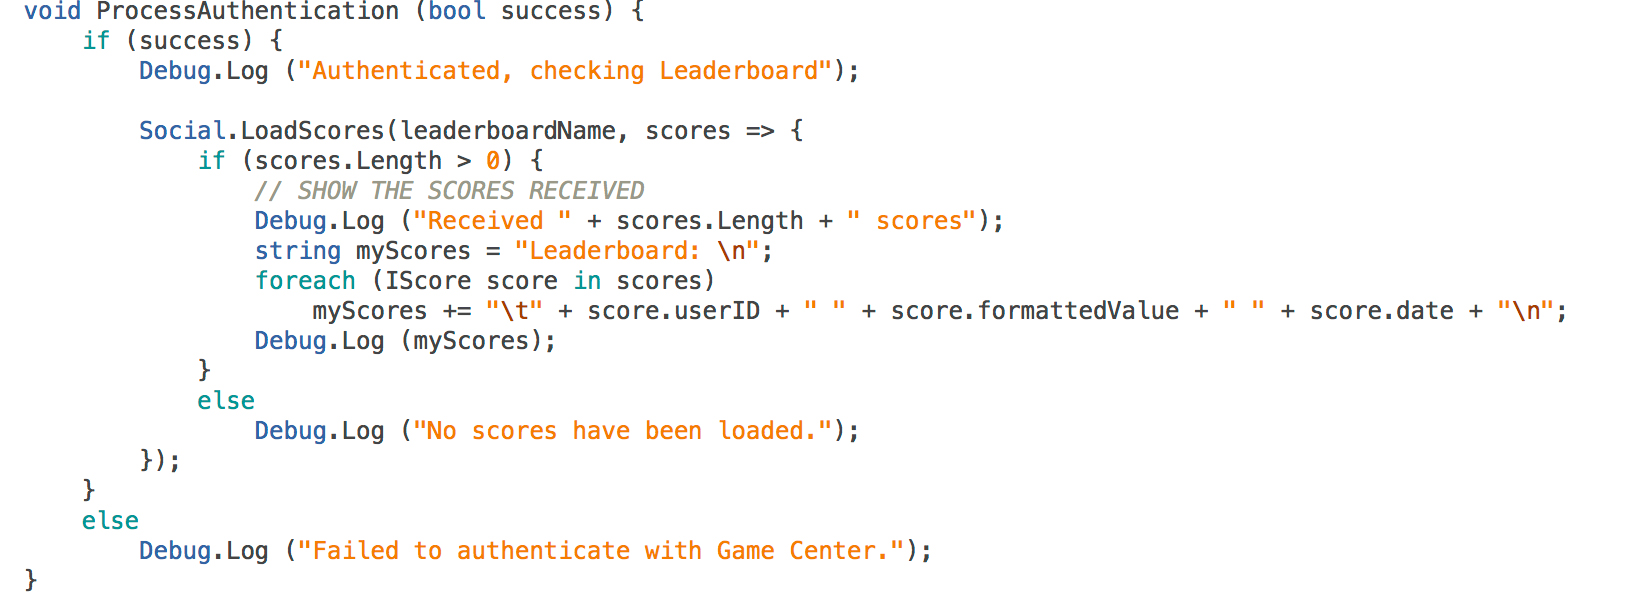
On iOS it was a lot easier to ad adverts and Game Center facilities as Apple does not require any
external plugins. For Game Center you first needs to authenticate/ sign user in and then that's it.
Just call a function to add score to the leaderboard. I think adding ads and game center facilities
to your app is simple, the only difficult bit was to search online though many tutorials as to how
to do it. [Refer to Image 13 & 14]
My personal opinion is that it is a lot simpler to upload an app on the Google Play Store than iOS App Store.
With Android you just upload the build file and your done however with iOS, first you optimize it in Unity
and then you get an Xcode file, then in Xcode you have to authenticate all user's certificate which you
need to get form apple developer account, then optimize all settings in Xcode and the you have to build
for Archiving. You also need to make sure that the developer account and Xcode is connected with your
iTunes Connect account with the valid developer/destitution certificate. So you don't get a build file
as such for iOS as it gets automatically uploaded to your developer account.
My app showed many errors during the publishing process and it was frustrating. Some of the errors were very tiny but it took me a while to figure them out. For e.g. while archiving an error kept popping up saying my app was not compatible with 64bit and is only compatible with 32bit and Xcode showed me how to fix that error which was helpful but even after I changed it, it still gave me that error. I changed the app architecture to standard to support both 32 and 64 bit but the error won't go. It turns out I had to change 1 tiny setting in Unity. I had to switch my scripting backend setting from Mono2x to IL2CPP, which supports 64bit. It was just a drop down setting which barley takes a second to change but the fact that it took me a long time to figure it out and then you have to redo the exporting process again and again to fix tiny issues in the app is frustrating. [Refer to Image 15 & 16]
My app showed many errors during the publishing process and it was frustrating. Some of the errors were very tiny but it took me a while to figure them out. For e.g. while archiving an error kept popping up saying my app was not compatible with 64bit and is only compatible with 32bit and Xcode showed me how to fix that error which was helpful but even after I changed it, it still gave me that error. I changed the app architecture to standard to support both 32 and 64 bit but the error won't go. It turns out I had to change 1 tiny setting in Unity. I had to switch my scripting backend setting from Mono2x to IL2CPP, which supports 64bit. It was just a drop down setting which barley takes a second to change but the fact that it took me a long time to figure it out and then you have to redo the exporting process again and again to fix tiny issues in the app is frustrating. [Refer to Image 15 & 16]
I feel that I have learnt quite a lot about app development and publishing.
It was a little frustrating and sometimes demotivating but I fell that when your
app gets approved and its on the App Store and people are downloading it, it's all worth it.
File Structure
If the project were to be passed on to someone else here is the file structure of the Unity's folder.
Note this is not the structure for the iOS or Android build file. If you understand your way around Unity's
file structure you can export your own iOS or Android build.
The folder has been structured in a very organized manner so it's easy to understand where a specific type of file could be found.
First you enter the main Droppinz folder and then within that you enter Assets folder. This is where everything related to the project is.
First you'll find the Animations folder. Firstly, you'll see 3 folders named White, Black and Yellow. They represent the character when the theme is changed so the animations for the character/player in White, Black and Yellow. Within that you'll find animations for when the character is hanging off the rope and jump animations. Anything outside the White, Black and Yellow boxes mean that they are applied to a game object apart form the character for e.g. the camera shake animation and the Game Over animation. Camera shake animation is when the user dies the camera shakes for a little bit to show the impact when the character hits the moving bricks. Game Over animation is where the menu falls down from the top after the user dies to asks them if they would like to retry or quit the app.
In the Audio folder you'll find the 3 type of audio. The background music, a sound effect when a button is pressed and another sound effect when when the user reaches the drop zone.
There is a Fonts folder as well in which there is only one font called, "CODE Bold".
Now you'll see the images folder where you'll find multiple folders such as Arrows, Background, Icons etc. Now within each of those folder's you will the same image in 3 colors, White, Black and Yellow. For e.g. in the Arrow's folder you'll find 3 images of arrow in 3 different colors. This is so when the user decided to change the theme color, the appropriate colored images will be displayed according to which theme is selected. So if Yellow theme is selected the yellow arrow will be shown.
The Material’s folder contains materials with colors to define color’s to an object.
Prefab’s folder is a folder for the moving bricks. It contains brick object that get spawned randomly. There are 3 folders within because there are 3 colored bricks so each folder conations 1 colored bricks. For e.g. Yellow folder will contain all Yellow bricks.
Then you have the Scene folder. This is where you;ll find the menu scene and the play screen. When you open these in Unity you can edit the game.
After that you have the Scripts folder. On the main menu screen the user gets 3 options. They user can start playing the game, change the theme color or enable or disable the background music and sound effects so that a total of 3 functionalities. Hence the script's folders are divided with Play, Theme and Sound scripts folder so it's easy to find the relevant script. The 4th script would be Home itself as the Home page (Main Menu Page) has its own scripts. Outside the 4 folders you'll find either iAD script for iOS or google ads script for Android.
Lastly you'll find the Sprites folder where a multiple sprites, images and icons will be put so they can be used where necessary in the app.
2 additional folders will be added to the Assets folder for Android ONLY as they are Google Play services plugins and Google Ad plugin.